
Installing MS SQL Server 2022
In this post we are going to perform a basic installation of Microsoft SQL Server 2022 Developer including additional Management Tools.
We will install the SQL Server Management Studio, Azure Data Studio and the SQL Server Migration Assistant for Oracle. To perform these tasks we use a Windows 10 VirtualBox VM.
Table of Contents
Downloading the software
Here are the links to the files we need to install the software. The files should be downloaded to the VM:
- SQL Server 2022 Developer
- By running the downloaded file (SQL2022-SSEI-Dev.exe) we choose to ‘Download Media’, select the language (English) and choose to download cab files to the same location as the other files.
- SQL Server Management Studio (SSMS)
- Azure Data Studio
- Microsoft SQL Server Migration Assistant for Oracle
- From the list that appears we select ‘SSMAforOracle_10.0.0.msi’ and ‘SSMAforOracleExtensionPack_10.0.0.msi’.
- ODAC Xcopy Packages (ODP.NET) to connect to an Oracle DB
Installing MS SQL Server 2022
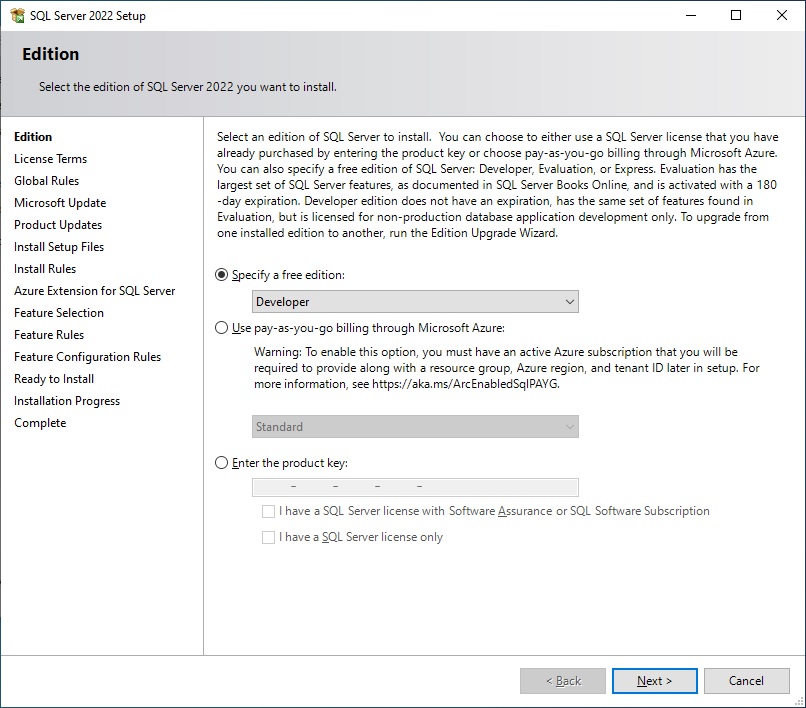
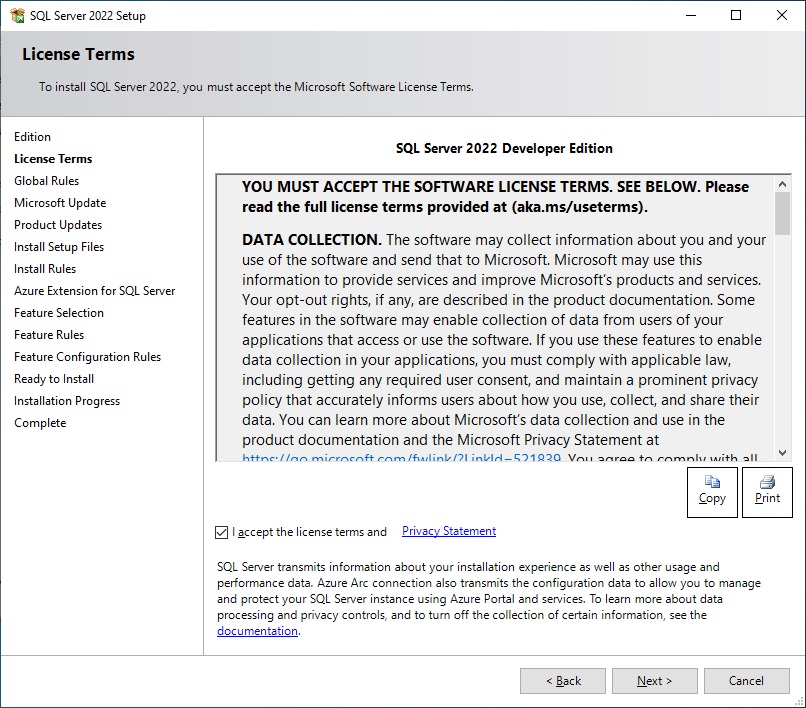
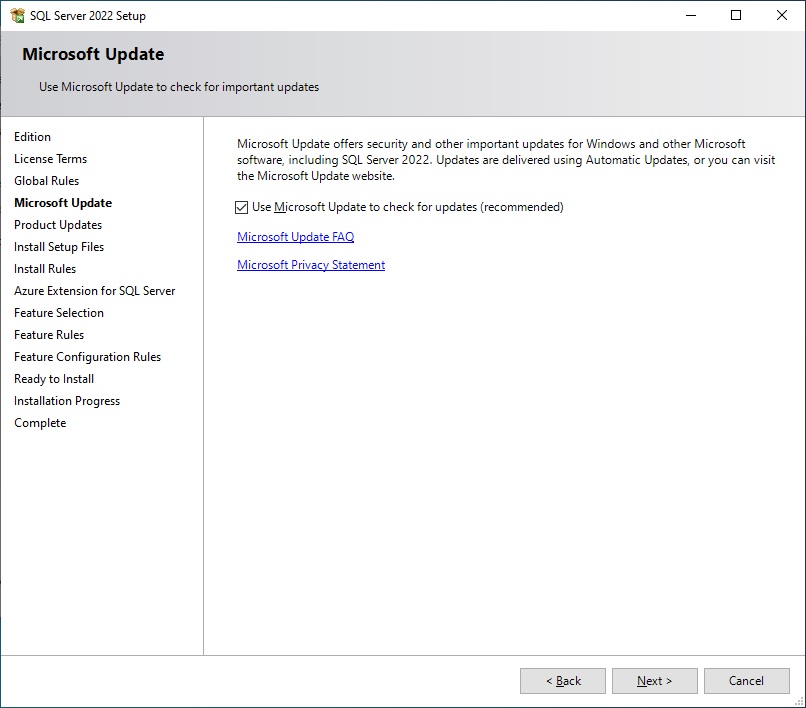
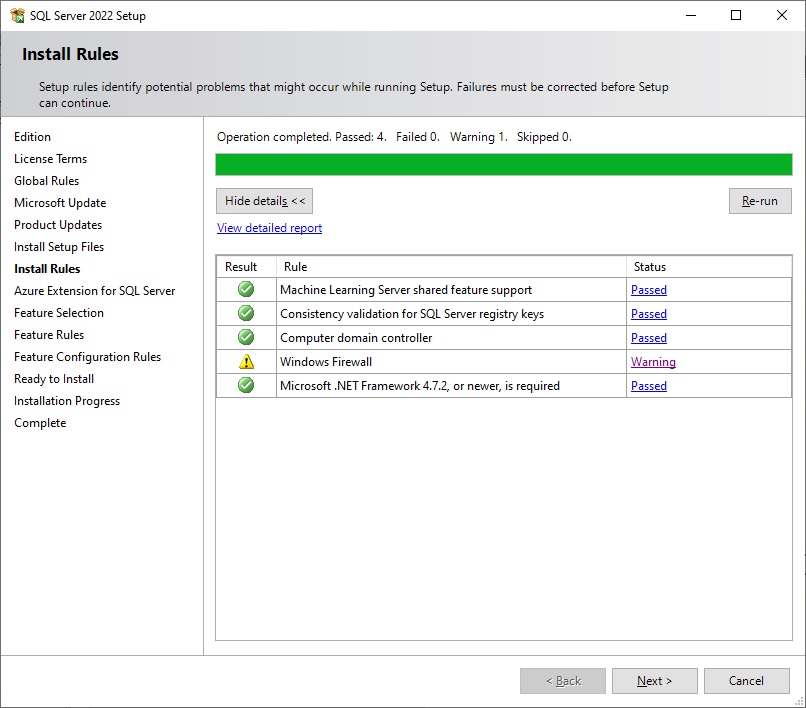
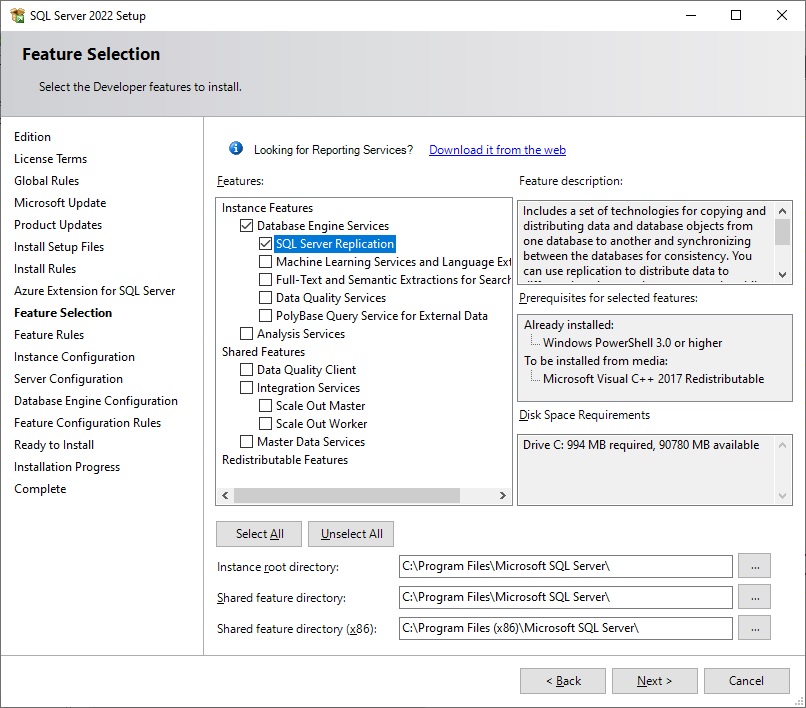
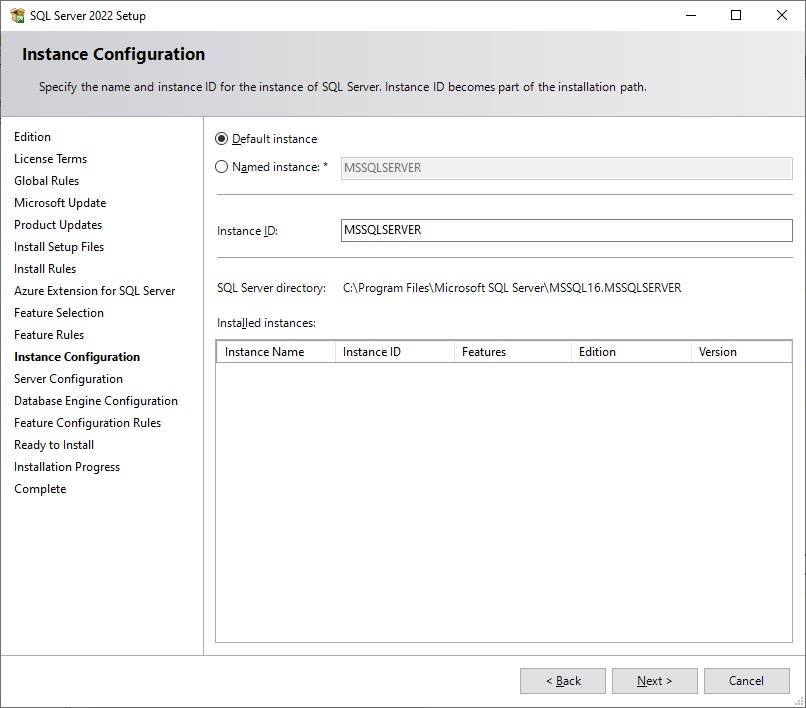
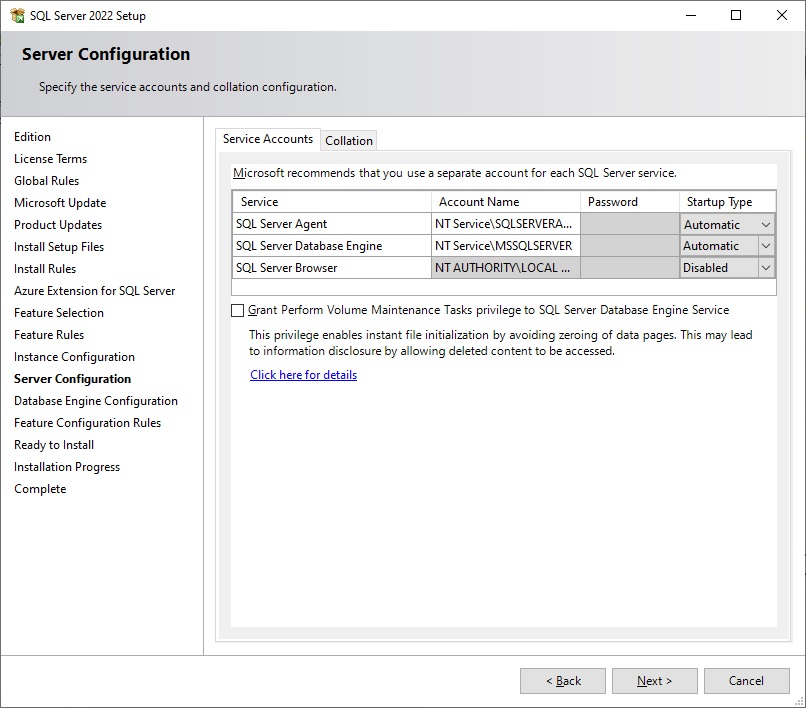
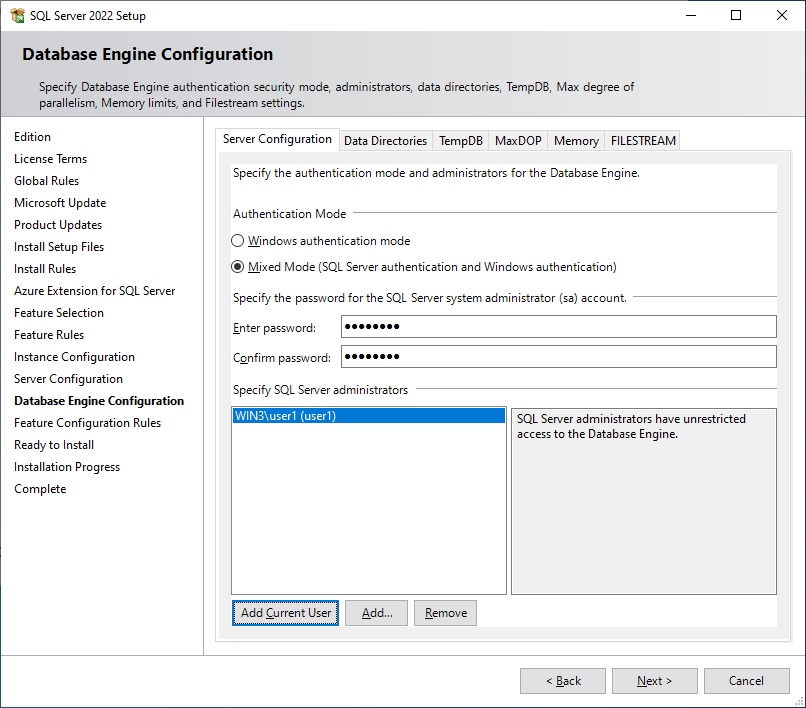
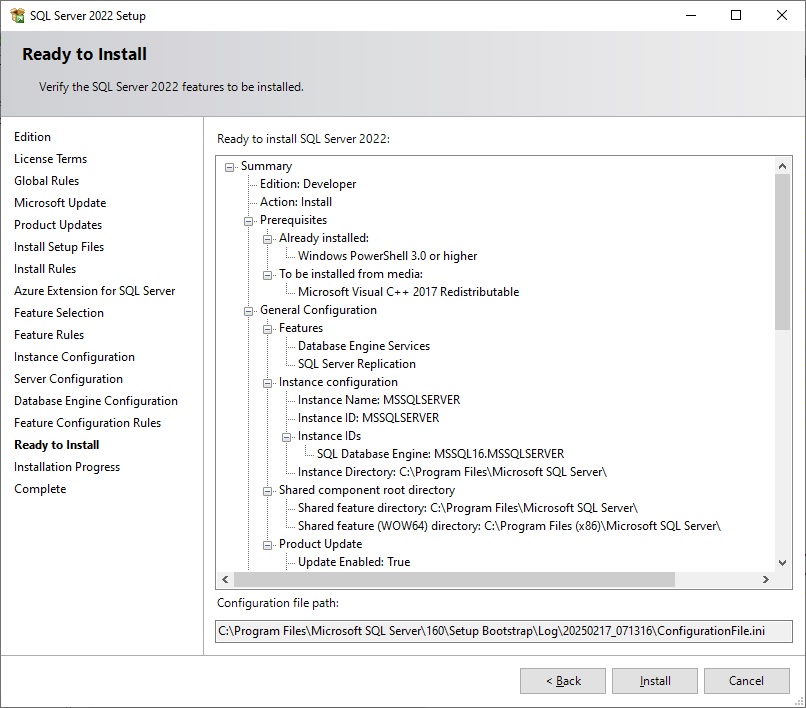
We start the installation by running SQLServer2022-DEV-x64-ENU. In the ‘SQL Server Installation Center’ we select Installation and click ‘New SQL Server standalone installation…’. The screenshots below show the items selected for this installation:


Configure Firewall to allow Database access from remote
If you want to allow remote Applications (e.g. Foglight Monitoring) to access the MS SQL Server on the default port 1433 we need to adjust the firewall configuration:
netsh advfirewall firewall add rule name="MSSQL TCP port 1433" dir=in action=allow protocol=TCP localport=1433
And enable TCP/IP in the SQL Server 2022 Configuration Manager:
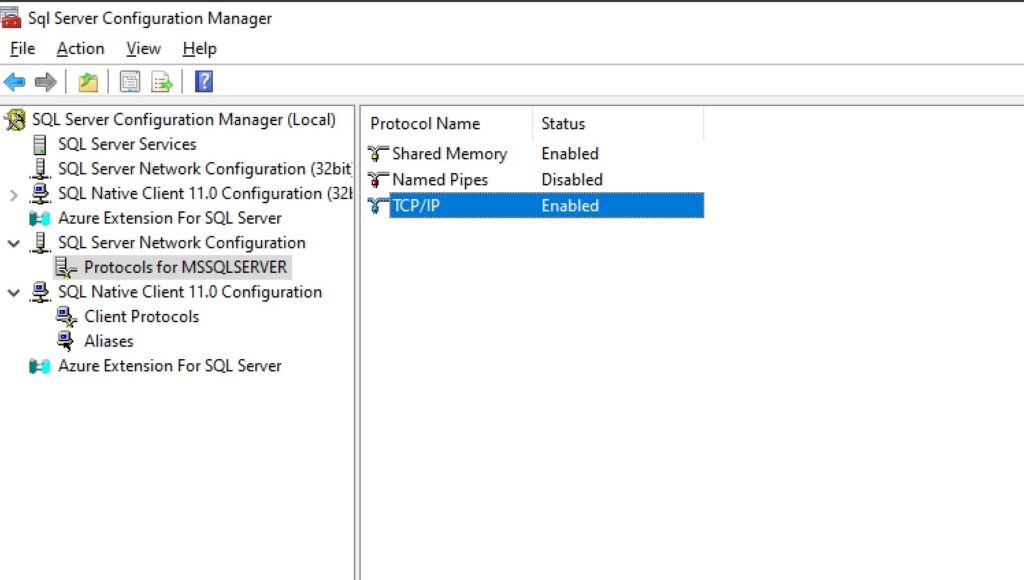
For the changes to take effect we need to restart the service: SQL Server (MSSQLSERVER).
Ok, so the database has been installed. Next is the Management Studio.
Installing SQL Server Management Studio (SSMS)
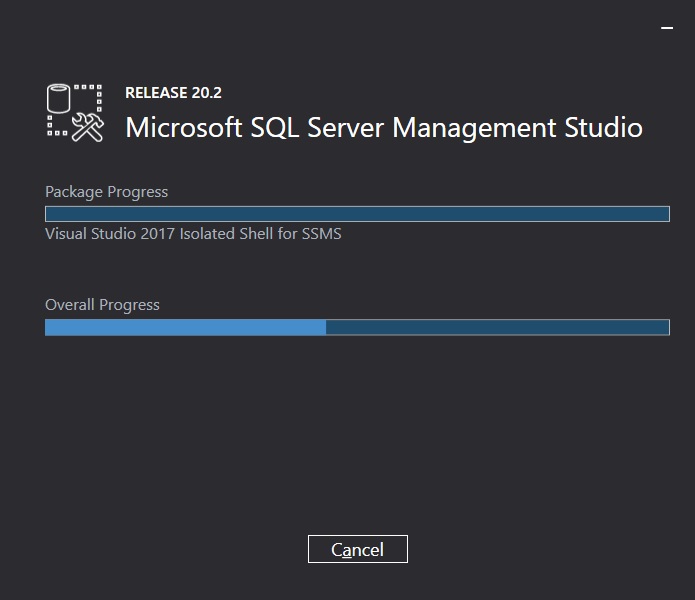
Start the installation by running SSMS-Setup-ENU and accept the default location. That’s all
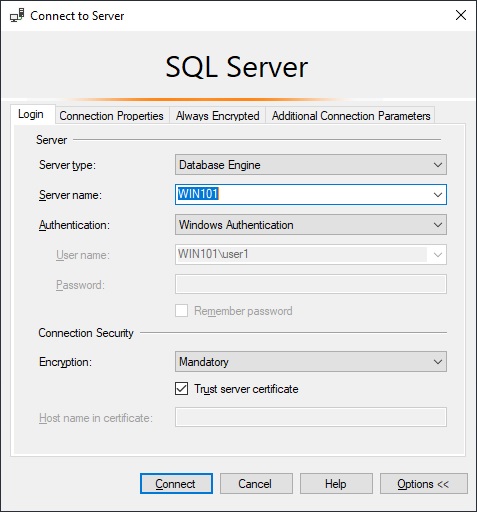
To login to the existing database server we can start SQL Server Management Studio from the Windows Start menue. In the window that opens we need to click on ‘Trust server certificate’ and then click Connect.
Installing Azure Data Studio
Azure Data Studio can be installed by running azuredatastudio-windows-setup-1.51.1. Accept all defaults.
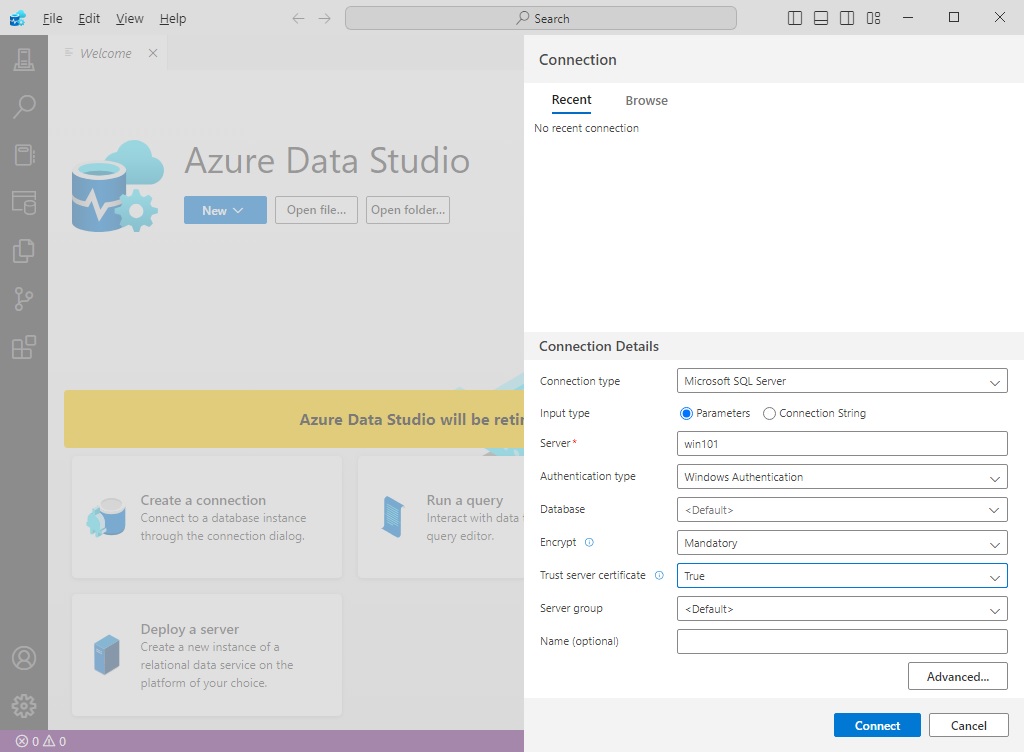
To use Azure Data Studio we start it from the Windows Start menue and select ‘Create a connection’. In the window that appears we enter:
Installing Microsoft SQL Server Migration Assistant for Oracle
The installation can be started by running ‘SSMAforOracle_10.0.0.msi’. The defaults can be accepted. The extension pack provides useful tools and should and can be installed by running ‘SSMAforOracleExtensionPack_10.0.0.msi’. Also all defaults can be accepted. The installation requires .net Desktop runtime which can be downloaded and installed.
Installing ODP.NET
To be able to connect to an Oracle DB we need to install the ODP.NET driver. We need to unzip the downloaded ODAC23.5Xcopy_x64.zip and run the following in an Admin command prompt:
.\install.bat odp.net4 c:\ohome myohomeNext we create a new windows user environment variable with the name TNS_ADMIN and the value of C:\ohome\network\admin
From the directory C:\ohome\network\admin\sample we copy tnsnames.ora and sqlnet.ora to C:\ohome\network\admin\
Now we can add an entry to the tnsnames.ora in C:\ohome\network\admin\ for the Oracle DB where we want to connect. For example we can add:
pdb1 =
(DESCRIPTION =
(ADDRESS = (PROTOCOL = TCP)(HOST = dbserver.de)(PORT = 1521))
(CONNECT_DATA =
(SERVER = DEDICATED)
(SERVICE_NAME = pdb1)
)
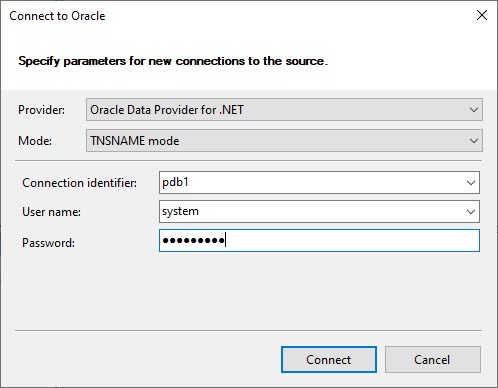
)To check the connection to Oracle we start the SQL Server Migration Assistant (make sure to restart it after setting the TNS_ADMIN variable) and create a new project (Migrate to: SQL Server 2022, Target: On Premise SQL Server). Then we select ‘Connect to Oracle’ and select the following:
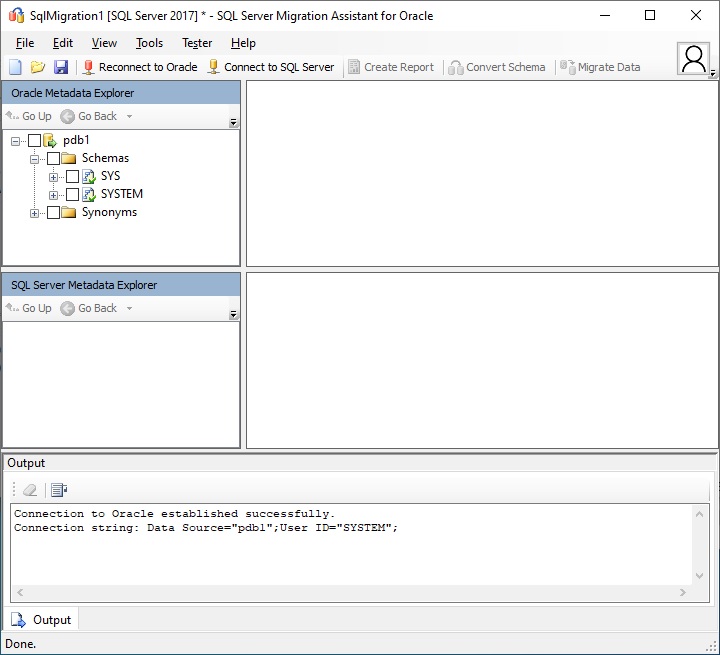
After some initialisation we can see the established connection:
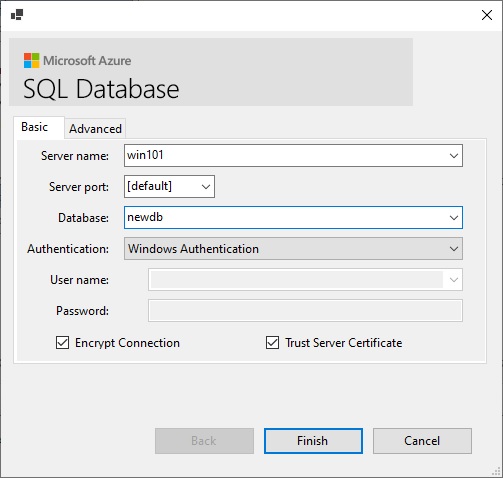
To connect to the local SQL server DB we select ‘Connect to SQL Server’ and choose:
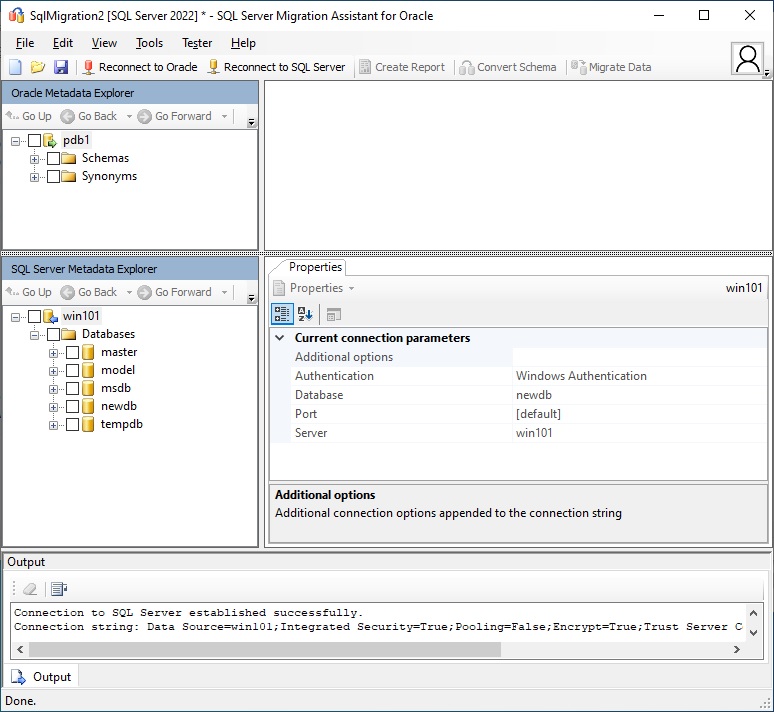
If we are connected to both databases the tool looks like this:
We are now ready to migrate some data from Oracle to SQL server which might be the topic of another post 🙂
Leave a Reply