Install Zabbix on RHEL 8
This describes how to install Zabbix on RedHat Enterprise Linux 8.10. Zabbix is used to monitor servers and notify in case of failures.
Table of Contents
Preparation
To install Zabbix 7.0 LTS and the Zabbix Agent2 we need a RHEL 8.10 VM and install PostgreSQL on the VM. The steps to install the VM can be found here and the PostgreSQL installation is described here.
Installation
First we install the nginx webserver and php 8.3 with these commands:
dnf -y install https://rpms.remirepo.net/enterprise/remi-release-8.rpm
subscription-manager repos --enable codeready-builder-for-rhel-8-x86_64-rpms
dnf module reset php
dnf -y module install php:remi-8.3
dnf -y install nginx
Next we perform the Zabbix installation with the commands from this page:
# Zabbix repository
rpm -Uvh https://repo.zabbix.com/zabbix/7.0/rhel/8/x86_64/zabbix-release-latest-7.0.el8.noarch.rpm
# Install Zabbix server, frontend, agent2 and plugins
dnf -y install zabbix-server-pgsql zabbix-web-pgsql zabbix-nginx-conf zabbix-sql-scripts zabbix-selinux-policy zabbix-agent2 zabbix-agent2-plugin-mongodb zabbix-agent2-plugin-mssql zabbix-agent2-plugin-postgresql
# create postgreSQL user and database
su - postgres -c '(echo changeme; echo changeme)|createuser --pwprompt zabbix'
su - postgres -c 'createdb -O zabbix zabbix'
# create database schema
zcat /usr/share/zabbix-sql-scripts/postgresql/server.sql.gz | sudo -u zabbix psql zabbix
# adjust config file
sed -i "/^# DBPassword=/s/# DBPassword=/DBPassword=changeme/" /etc/zabbix/zabbix_server.conf
# adjust the nginx config file (set the servername to the FQDN e.g. lin4.fritz.box)
sed -i "/^#        server_name.*/s//        server_name `hostname`;/" /etc/nginx/conf.d/zabbix.conf
# start zabbix and agent
systemctl restart zabbix-server zabbix-agent2 nginx php-fpm
systemctl enable zabbix-server zabbix-agent2 nginx php-fpm
# fix an error in the unit file to avoid hanging on shutdown
sed -i "/^After=postgresql-16.service/s/After=postgresql-16.service/After=postgresql-16.service\nAfter=postgresql-17.service\nRequires=postgresql-17.service/" /usr/lib/systemd/system/zabbix-server.service
systemctl daemon-reload
systemctl disable zabbix-server
systemctl enable zabbix-server
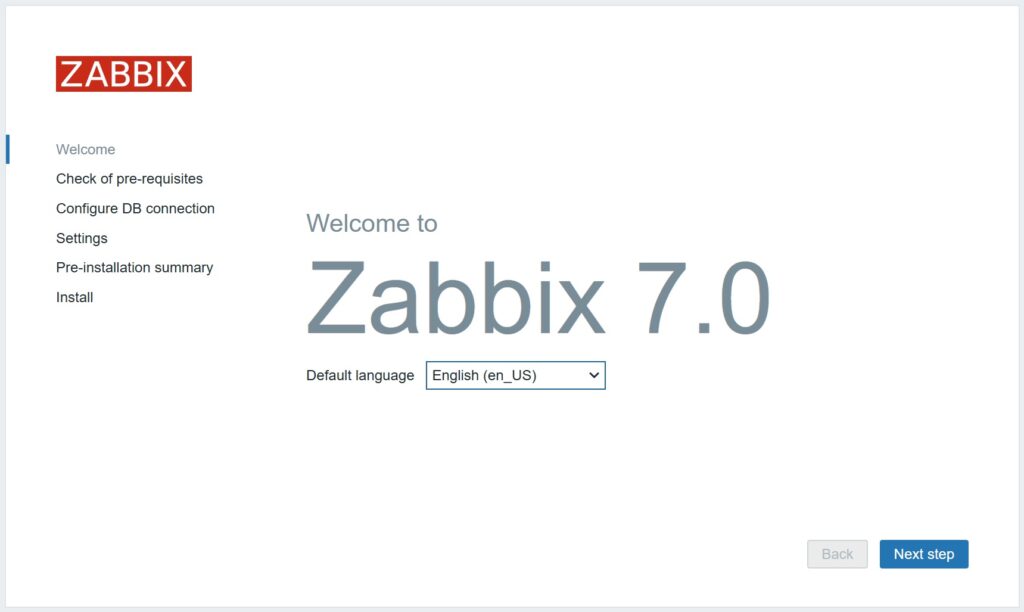
Now the basic installation is finished and we can access the Configuration page with this link (adjust if needed). This shows us the following page:
Configuration
The configuration is done as shown in the screenshots:
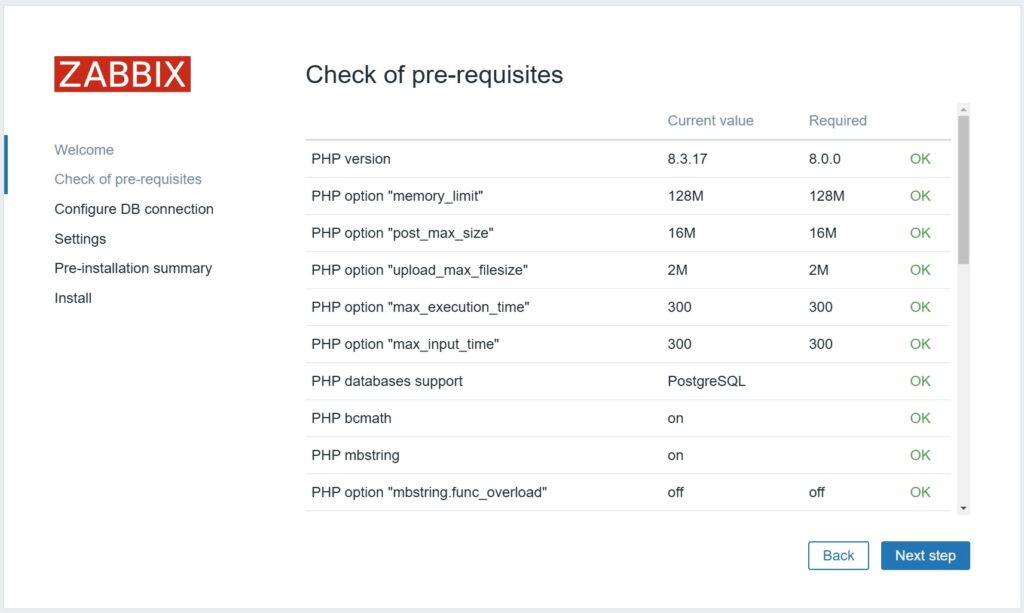
Click Next step
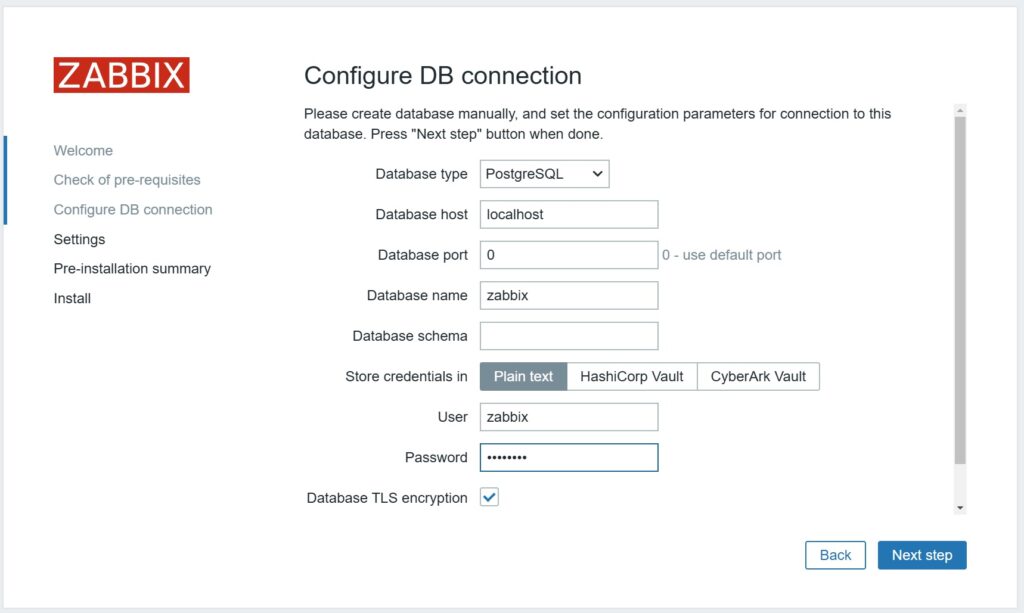
Enter the database password (changeme) and click Next step
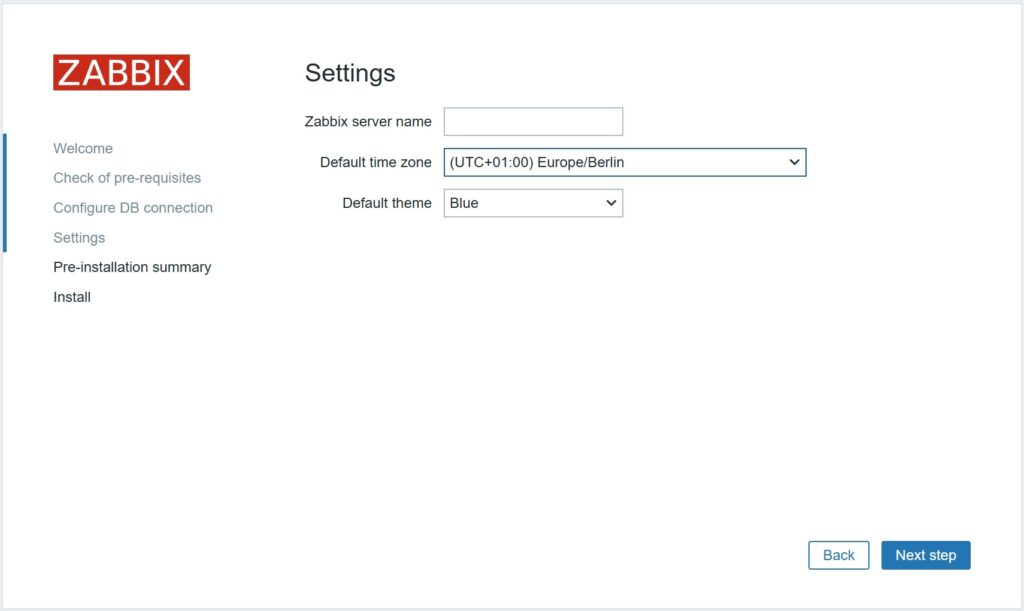
Set the server name if you want to, adjust the timezone and click Next step.
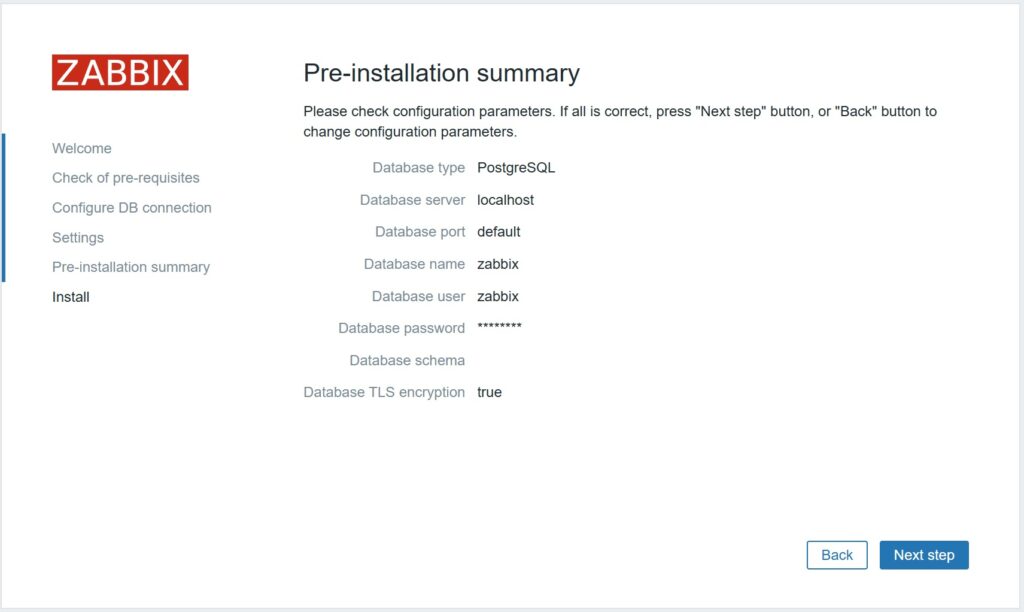
Click Next step
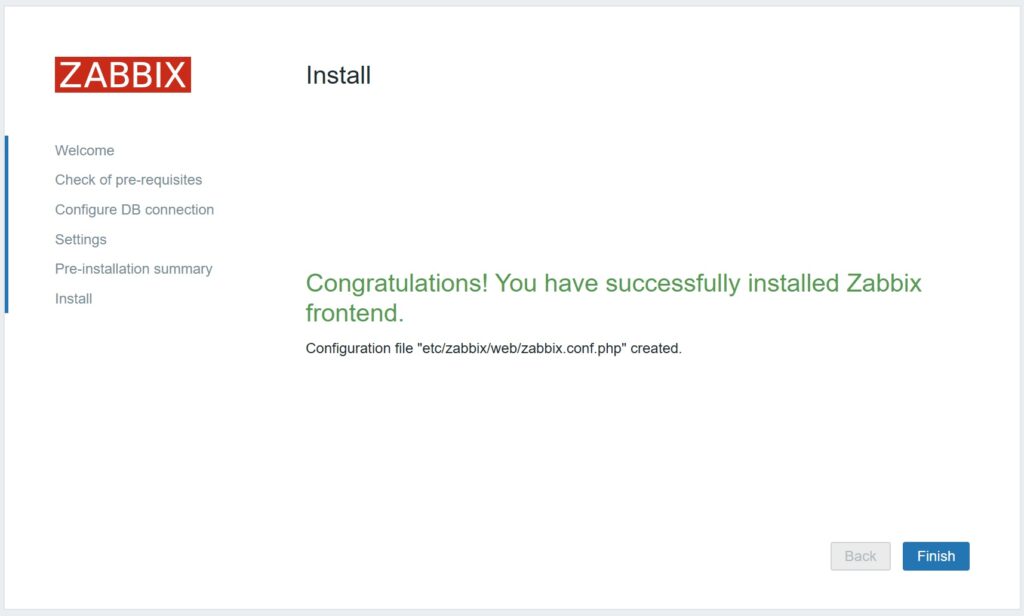
And click Finish. The configuration is done and you can login:
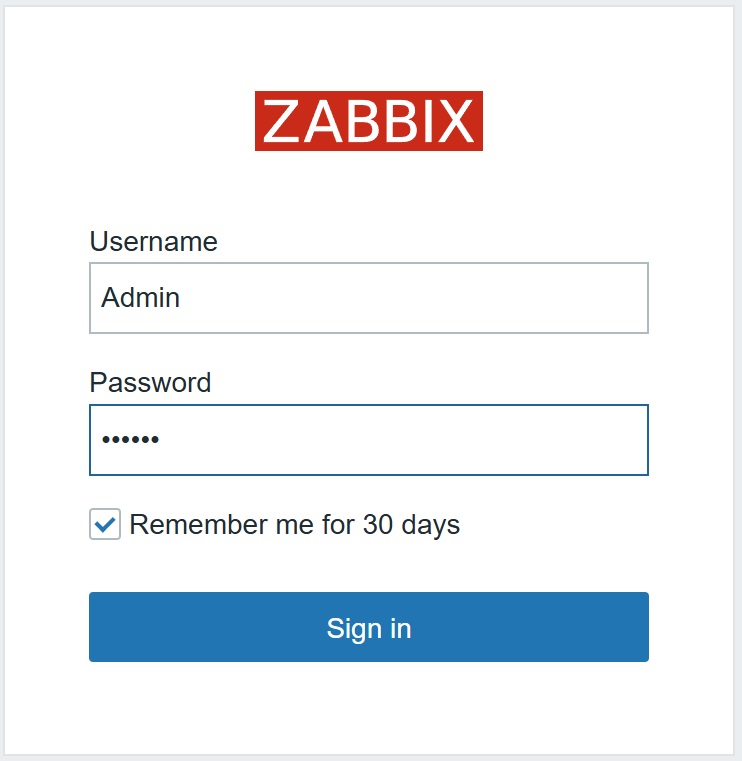
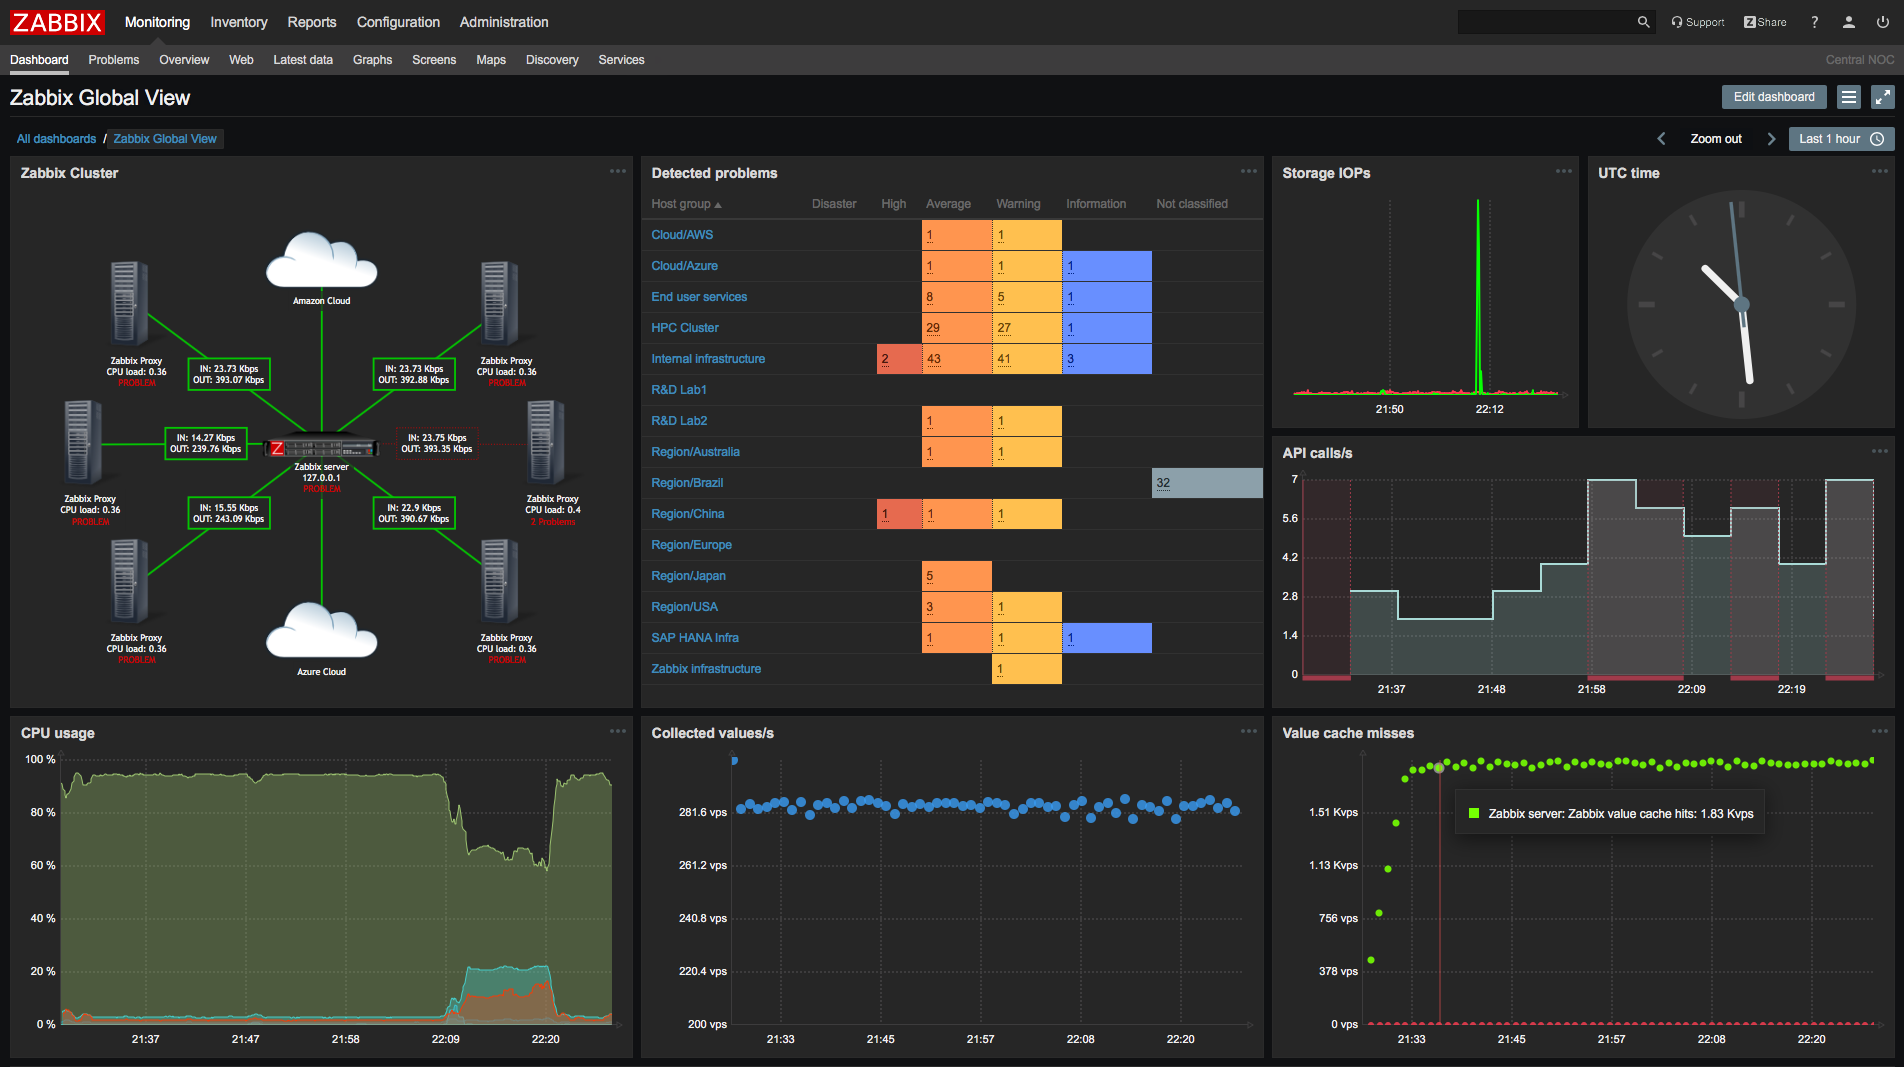
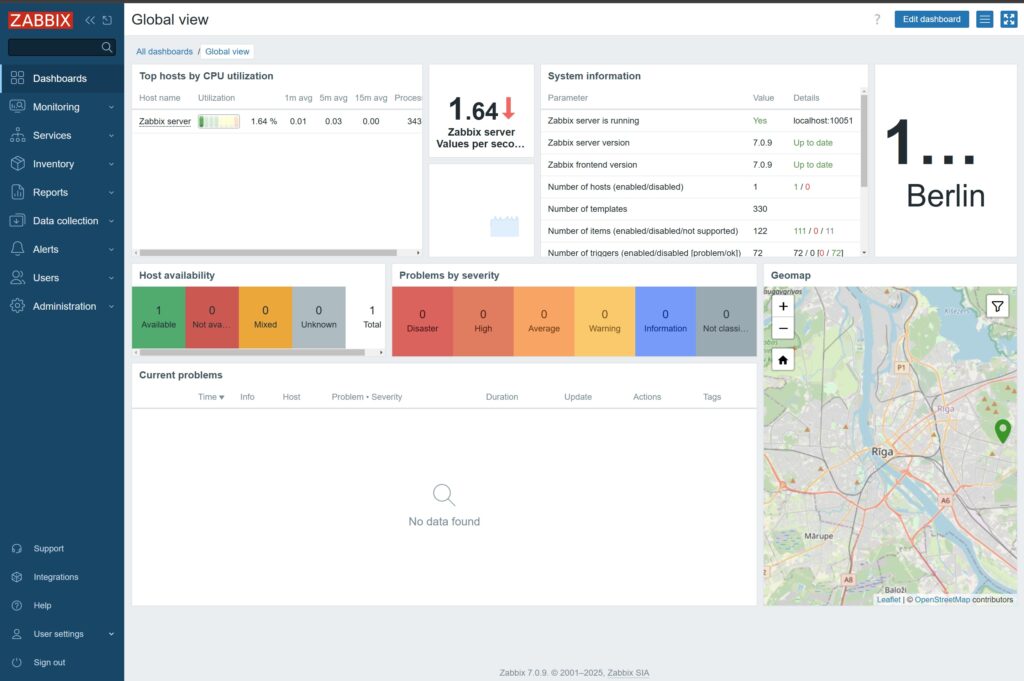
You can log in with Admin and the password is zabbix. Then you will see the ‘Global view’ dashboard:
The password should be changed now (User settings/Profile/Change password). Congratulations! The Installation and Configuration of Zabbix is finished.
Leave a Reply